Enable VisualVM for remote monitoring of Java

Step 1: get jstatd running.

If jstatd is not running,  create a file called jstatd.all.policy with the following contents:

grant codebase "file:${java.home}/../lib/tools.jar" { permission java.security.AllPermission;};

Start jstatd as follows:

nohup jstatd -J-Djava.security.policy=/path/to/your/jstatd.all.policy &

Step 2: Start Remote jvisualvm


/usr/java/jdk1.7.0_25/bin/jvisualvm


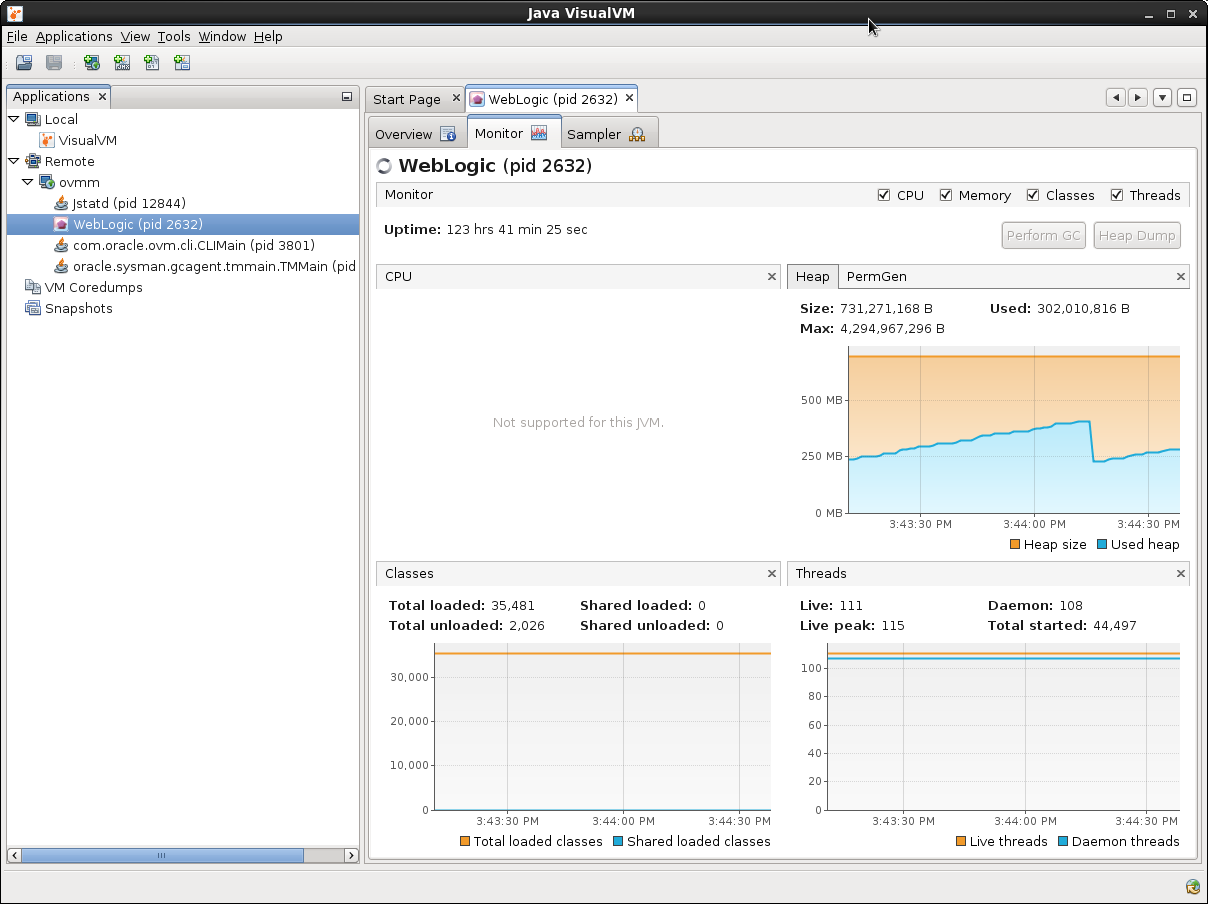
Screenshot-Java VisualVM

Oracle Weblogic Start Scripts for Linux

Create Startup scripts for Weblogic Admin server and NodeManager


The following instructions are for creating Linux Startup scripts for Weblogic 10.x This procedure uses RC scripts for starting / shutting down the process as a UNIX daemon.


  • Login to a root account
  • Create the following file in the /etc/init.d/weblogic_start with the following contents. Modify to match your specific environment
su – oracle -c “nohup /u01/app/oracle/middleware/user_projects/domains/DEV_domain/bin/startWebLogic.sh &”
su – oracle -c “nohup /u01/app/oracle/middleware/user_projects/domains/DEV_domain/bin/startNodeManager.sh &”


  • This will start the weblogic admin process as a specified user “oracle” and run it in the background.
  • This will also start the NodeManager if configured.
su – oracle -c “/u01/app/oracle/middleware/user_projects/domains/DEV_domain/bin/stopWebLogic.sh”
kill -9 `ps -ef | grep weblogic.Node | grep jdk | awk ‘{print $2 }’`


  • The image above shows the /etc/init.d/weblogic_stop script which will stop the Weblogic Admin server as well as stop the NodeManager.


  • Next step is to create the symbolic links in the /etc/rc3.d directory so things will stop and start correctly.
  • From the /etc/rc3.d directly you will need to run the following command to link the new weblogic_start and weblogic_stop scripts. Make sure you use the “S80” and “K20” in the names of the startup links.cd /etc/rc3.d
    ln -s ../init.d/weblogic_start S80weblogic_start
    ln -s ../init.d/weblogic_stop K20weblogic_stop

    Things should look like this:

    lrwxrwxrwx. 1 root root 24 Apr 30 17:39 S80weblogic_start -> ../init.d/weblogic_start
    lrwxrwxrwx. 1 root root 23 Apr 30 17:39 K20weblogic_stop -> ../init.d/weblogic_stop


  • To test first make sure the commands run and work as designed.As root:
    /etc/init.d/weblogic_start
    /etc/init.d/weblogic_stop
  • Next stop is to reboot and verify that the services come up and are functional.

Bulletproof SSH Tunnel using Cygwin and AutoSSH

Ever try to get around those pesky firewalls at work? Well here is a way to setup permanent SSH tunnels that will self heal! The main reason I set this up was so that I wouldn’t have to keep setting up firewall holes in my remote routers. All of my systems now phone home and allow me to always have permanent connections.

You will need the following:

  • autossh
  • cygwin on Windows 7
  • cygrunsrv on cygwin
  • cron on cygwin
  • openssh on cygwin

Setup your shared keys between your servers. Make sure you are using the same user across both machines.

  • ssh-keygen.exe -t rsa
  • scp ~/.ssh/id_rsa.pub to your remote host and put in ~/.ssh/authorized_keys2 file
  • test “ssh user@remotehost”

Setup autossh on Cygwin

  • just install it from repository

Create a tunnel script on your originating server.
/home/user/tuncheck.sh

a=(`ps -ef | grep autossh | grep -v grep`)
if [ ! “$a” ]; then  /usr/bin/autossh.exe -M 10984 -N -f -R 6666:localhost:22 user@remotehost -p 40022 &
fi

Install CRON for Cygwin and run cron-config to setup cron. Just take the defaults but add your username and password.

  • run cygwin setup.exe to install cron
  • run “cron-config” to setup cron
  • start up the cron service “net start cron”

Add the check script to the users’ crontab

  • crontab -e
  • * * * * /home/user/tuncheck.sh
  • run “crontab -l” to verify

Verify operation

  • on originating server run “ps -ef |grep auto”
  • You should see the process running “14:50:01 /usr/bin/autossh”
  • on remote server run “ssh -p 6666 user@localhost”
  • You should get logged onto the originating server.

Dont forget to turn off your power management on the originating server. Needs to stay alive!

Enjoy!

 

Running Juniper SA SPE on VirtualBox using Named Pipes

This article explains howto run the Juniper Virtual Appliance on VirtualBox and hopefully Oracle VM.


  • First Install VirtualBox
  • Download the Juniper Virtual Appliance SA SPE and unzip the file into a folder.
  • Import the appliance as OVF.
  • Create a 10 Gig Dynamic VDI for the Disk.
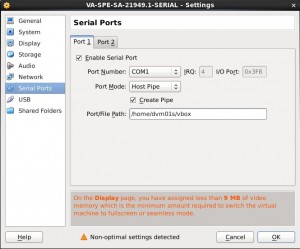
  • Since the Juniper Appliance needs a serial console to access, we need to enable the Com1 serial device with “Host Pipe” enabled as shown below.

vbox1

  • In order to connect to the VirtualBox serial connections I used 2 additional tools. Putty and Socat
  • I am using Oracle Enterprise Linux 6 (Redhat 6) so I installed both programs.
  • yum install socat
  • yum install putty
  • Next, you need to start your Juniper VM, it will basically look like it is hanging but it is not. The first time it is run, it is asking for setup information on the serial console which to this point is hidden.
  • Next you need to run the socat program. Socat is a relay for bidirectional data transfers between two independent data channels.
  • Since you set your Serial Pipe in VirtualBox to be “/home/dvm01s/vbox” this is the command line to get socat up and running.
  • socat -d -d -d /home/dvm01s/vbox tcp4-listen:9988
  • Now that socat is up and running you should see something like this:
[dvm01s@penguin init]$ socat -d -d -d /home/dvm01s/vbox tcp4-listen:9988
2013/01/12 16:17:18 socat[24076] I socat by Gerhard Rieger - see www.dest-unreach.org
2013/01/12 16:17:18 socat[24076] I This product includes software developed by the OpenSSL Project for use in the OpenSSL Toolkit. (http://www.openssl.org/)
2013/01/12 16:17:18 socat[24076] I This product includes software written by Tim Hudson ([email protected])
2013/01/12 16:17:18 socat[24076] I interpreting address "/home/dvm01s/vbox" as file name
2013/01/12 16:17:18 socat[24076] I "/home/dvm01s/vbox" is not a socket, open()'ing it
2013/01/12 16:17:18 socat[24076] N opening undef "/home/dvm01s/vbox" for reading and writing
2013/01/12 16:17:18 socat[24076] I open("/home/dvm01s/vbox", 0102, 0666) -> 3
2013/01/12 16:17:18 socat[24076] I socket(2, 1, 6) -> 4
2013/01/12 16:17:18 socat[24076] I starting accept loop
2013/01/12 16:17:18 socat[24076] N listening on AF=2 0.0.0.0:9988


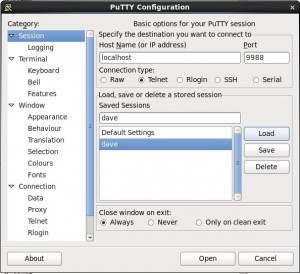
  • Once that is up all you need to do is connect to the port using putty.

vbox2

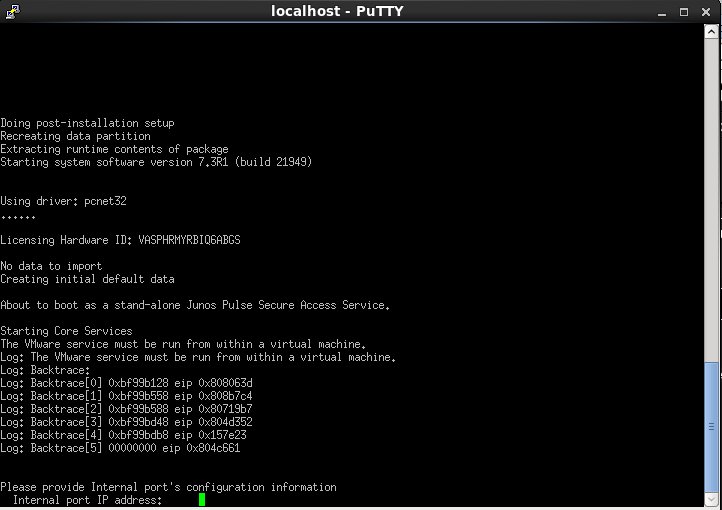
  •  Connect and you should be in business!

vbox3


Backup and Restore Magento

This explains howto export and import all the data and images from a Magento Ecommerce system.


  • First from the export machine, goto the the Admin for Magento. Then System / Import-Export / Dataflow-Profiles / Export All Products.
  • Then choose Run Profile from the Menu on left.
  • This will create a local file on the server usually under /var/export/export_all_products.csv
  • Copy this to your import server.
  • Zip up your product images under /media/catalog/product
  • Copy those over to your /media/import directory on the Import Server. Should look like this
  • /magento/media/catalog/media/import/2/4/image.jpg       etc.
  • On the Import machine, now goto System / Import-Export / Dataflow-Profiles and click on Import All Products.
  • Choose the export_all_products.csv from the export before and upload.
  • Run the import profile

voila