Well, it’s Black Friday 2013 and I managed to only spend a little. But what I got was so cool, i had to write about it…
I spend a lot of time in front of my computer, more that I would like to admit. My job basically ensures I am in front of a computer at least 5 hours a day. So, this Black Friday I splurged.
My setup consisted of a 24″ AOC Monitor next to a 27″ Dell. The Dell is beautiful but the AOC had some pixels missing and picture was so so. So, I almost made it through BF without spending the usual 1g but rounding out the night at Target of all places, I saw this one lone Magnovox Doorbuster sitting there waiting for me to take him home.
I originally was looking at at cheap Westinghouse 37″ 720p resoution for $260 or so but wasn’t completely sold. I knew that after I took it home, looking at a display of 1280×720 would not cut it.
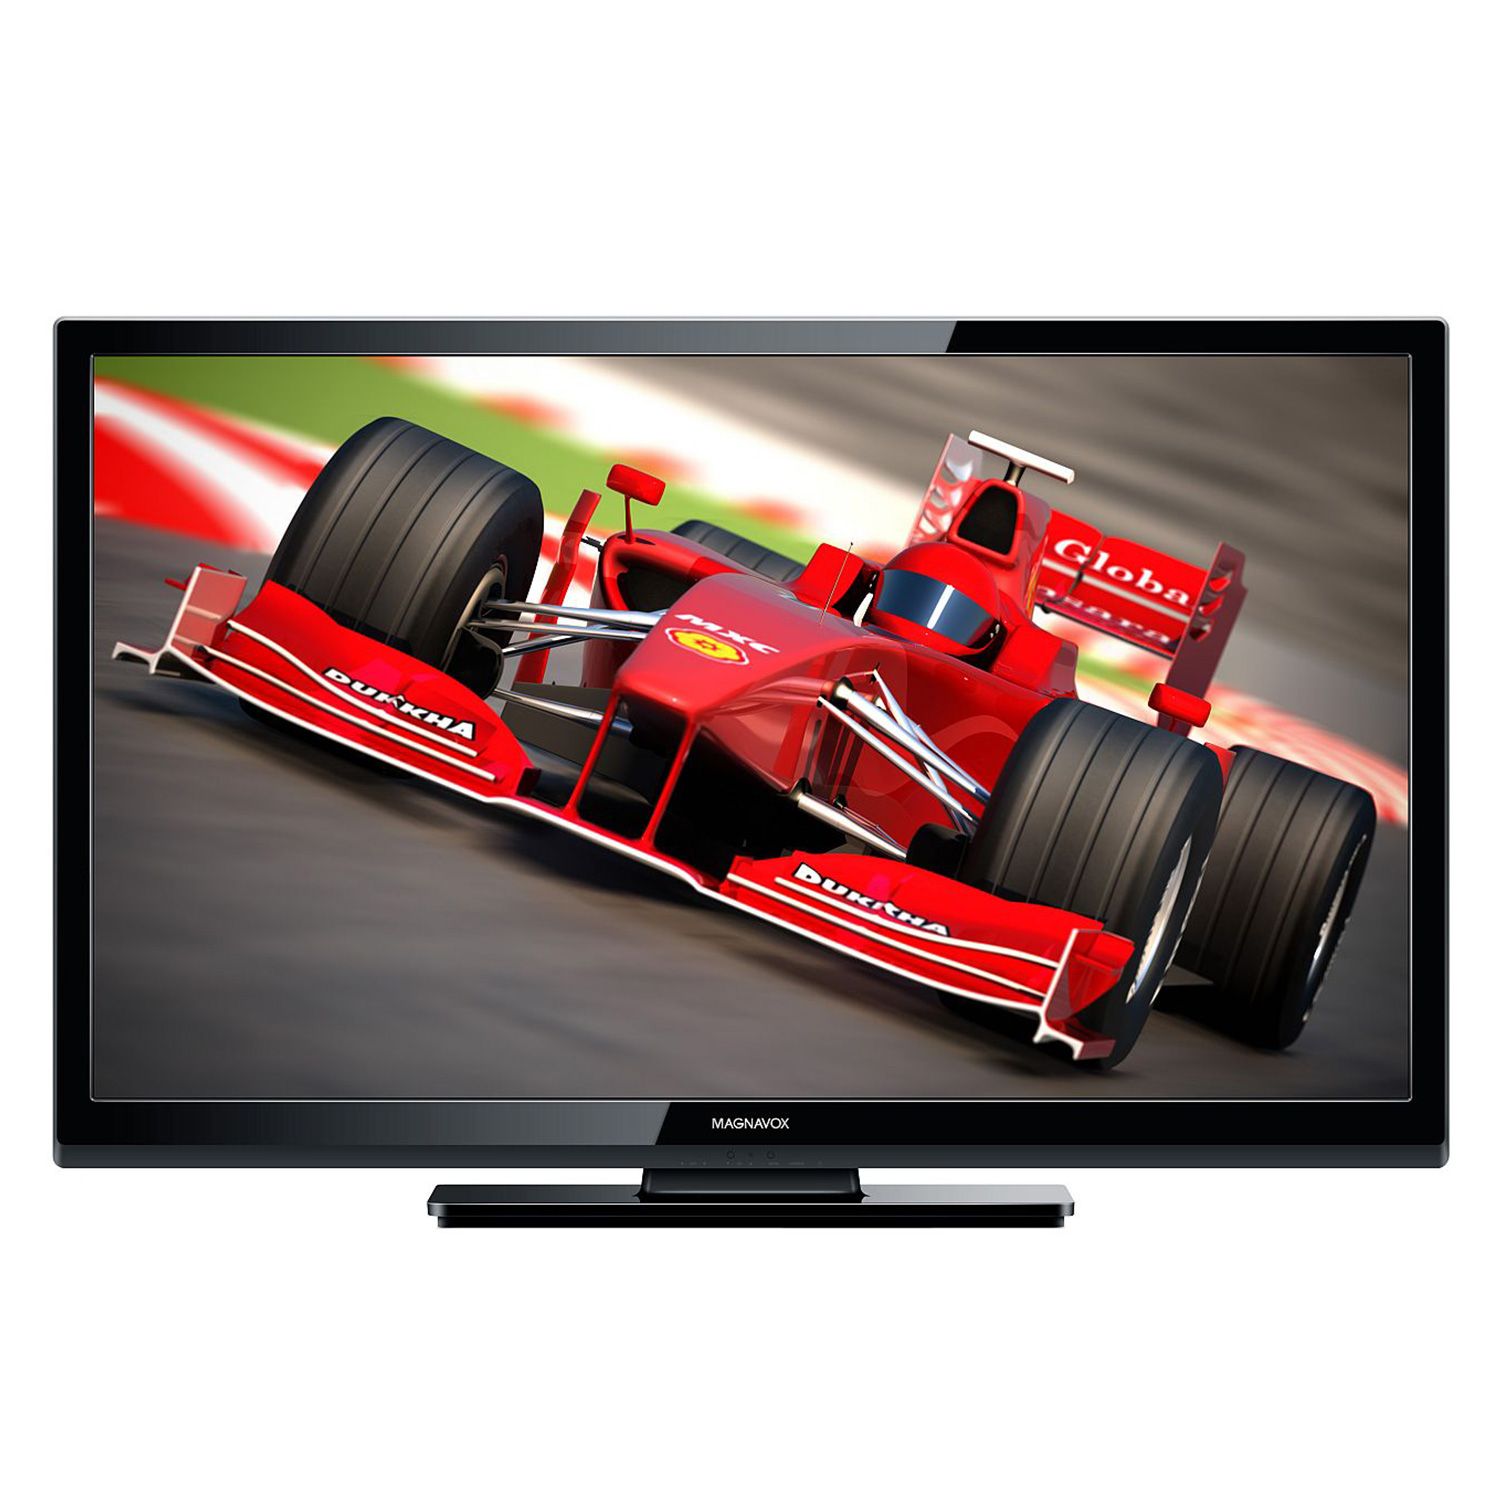
So for $299 i picked up a 40″ 1080p Magnovox 40ME313V TV/Monitor for my PC setup. As I am typing now, let’s just say it is awesome. The screen is basically a wall in front of me and resolution, picture quality is great. My 27″ Dell looks like little bro next to this monstrous piece of electronics.
So, if you’re looking for a cool upgrade to your PC and don’t want to spend 1000+ dollars, this one for you.